The role solder cleaning regimes play in protecting the performance of your processes is crucial.
There is no escaping that fact!
Without such regimes in place, your soldering performance will drop. Poor cleaning contributes to faster tip degradation and poor solder joints.
In this article, we delve into all you need to know about solder-related cleaning. From your PCBs to soldering cartridges and more, find out the essentials here.
PCB Cleaning
Firstly, before any soldering, it is essential that your PCB is free of contaminants. This can include dust, moisture, or anything that would impede a solid solder joint from forming.
Let’s outline how you would go about cleaning your PCBs.
Overall, there are 2 main methods for cleaning your printed circuit boards. You can rely upon manual cleaning or invest in equipment that will carry out the process for you.

Manual PCB Cleaning
Firstly, let’s talk about the tried and tested manual cleaning of PCBs. This is often preferred if your application is on a smaller scale. Likewise, if you are a hobbyist soldering practitioner.
For this, you need no fancy equipment, just a bit of elbow grease. Results for manual cleaning will differ from operator to operator. Therefore, higher volume assembly lines should invest in automated cleaning methods.
You can use a specialised PCB cleaning solution to spray on the board. Once covered, use a brush to sweep away any contaminants such as grease, grime, or remaining solder substances.
As this method is relatively inexpensive when compared to automated cleaning, it is often the method of choice. Although cleaning PCBs manually is far more time-consuming.
Automated Solutions
If your assembly process is on a larger scale, automated PCB cleaning should be in place. This reduces the variability of the cleaning, ensuring repeatable results for every PCB. Below are two of the more popular automated PCB cleaning solutions.
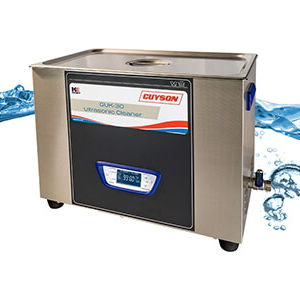
Ultrasonic Tanks – Ultrasonic tanks clean your PCBs using sound waves. The circuit board is submerged in a cleaning solution before ultrasonic energy cleans contaminants from the PCB. This is ideal for PCB cleaning as it reaches every angle of the board, providing a deep clean.
Batch Or Inline Production Cleaning – Other than ultrasonic tanks, there are a couple more automated ways of cleaning your PCB. These methods allow you to clean PCBs in batches, often through spray-in-air systems, that work like a dishwasher. Other batch cleaning methods can involve conveyor belts where all boards are cleaned, rinsed, and dried on their run.
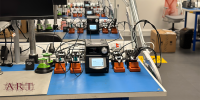
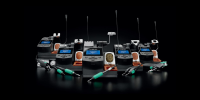
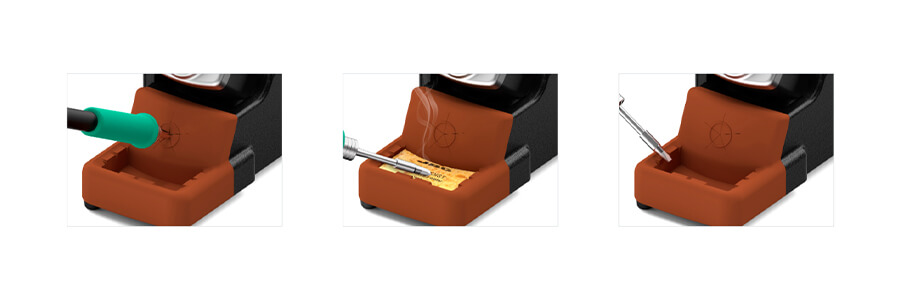
Solder Cleaning For Cartridges
Another crucial component to any solder cleaning routine is the cleaning of your cartridges.
Treat your soldering tips with care, to ensure that they provide the optimal thermal transfer for the task at hand.
Cleaning must occur before, during, and after use. Otherwise, you will run the risk of reducing the lifespan of your soldering cartridge.
Below are the recommended methods for each of these instances.
Before – You should clean the soldering cartridge before use. You can utilise alcohol solutions and a cloth to wipe down the cartridge. You could also use the membrane attached to many modern soldering stands.
During – Whilst soldering, it is essential that you clean your tips. Achieve this by using either brass or steel wool. They both help to remove small contaminants from the tip. You could use sponges, although they will reduce the tip temperature. If this occurs too often, it can cause metal fatigue and need a replacement cartridge. Automatic tip cleaners can also provide a good solution for your solder cleaning needs.
After – Once you have finished soldering, you must immediately wipe and then tin your soldering cartridges. This involves applying a thin layer of solder on the tip of the cartridge. Once successfully tinned, your tips will be better guarded from oxidisation.
For more information regarding caring for your soldering tips, check out our guide here.
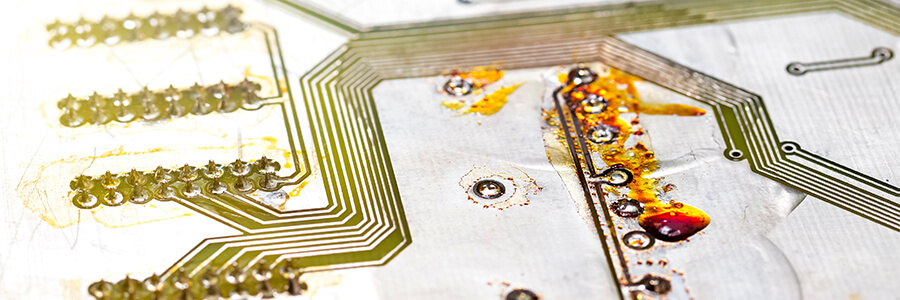
Flux Residue
One of the main drawbacks of using flux is the residue that it can leave behind on the board. Whilst they are perfect for helping to remove oxides and impurities from your PCB, the residue left behind requires cleaning.
Without cleaning, this residue can cause corrosion and inevitably short the circuits.
Of course, we are not talking about solder that uses no-clean flux. This type of flux requires little to almost no cleaning.
Often it can be tricky to get rid of the flux residue from your PCB. Here is why:
No Cleaning Immediately After Process – The time between operation and cleaning determines how difficult it will be to remove the flux. The longer it sits on your PCB the harder it is to remove.
Lead-Free Soldering - As we know, when using lead-free solder, you require higher temperatures. These processes often require more aggressive flux removers, which come with increased cleaning times. When using a higher temperature, you also run the risk of baking on the flux residue – which in turn makes it more difficult to clean the flux residue.
Type Of Flux Used – The type of flux that in the application impacts the cleaning difficulty. Rosin, No-Clean, or Water-Soluble flux, vary in their cleaning difficulty. The amount of flux used also has an effect as it can produce a thicker flux residue.
Wave Solder Cleaning
Through the wave soldering process, contamination can often occur. This is often caused by flux residues that either bake or collect on the plating or conveyor fingers.
If not addressed, the solder pallets cannot be properly guided over the wave – leading to improper soldering results. Your solder joints can suffer from problems such as bridging, pinholes, poor wetting, and more
Therefore, cleaning regimes must be in place.
Some people rely on products such as isopropyl alcohol, but often with little to no success. This is better served for cleaning PCBs, as mentioned above.
You should use an aqueous and solvent-based cleaning agent. These products have no flash point, meaning they can be applied to warm surfaces for cleaning.
By regularly cleaning your wave solder machines, you avoid downtimes and improve the results you get from the application.
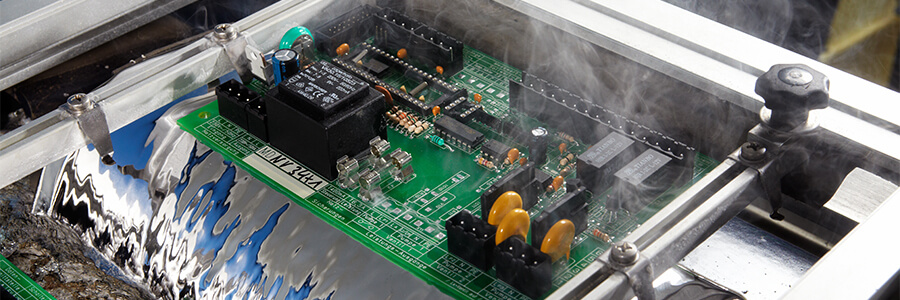
Reflow Ovens
You will likely have got the theme here. Your reflow oven will require consistent and regular maintenance.
The problem you often get with a reflow oven is the build-up of flux residue inside the oven chamber. This is due to both evaporated fluxes and gas emissions from the solder.
Failing to clean the reflow oven regularly produces unstable reflow profiles. This hinders the process from reaching the desired temperature in each of the zones.
These contaminants from the gas emissions can also be redeposited onto the next assembly line.
Many modern reflow ovens have flux collection systems installed. However, it is still crucial that a regular maintenance schedule is adhered to.
Here are a few of the cleaning tasks that you must carry out on your reflow oven:
- Daily wiping down inside of the reflow oven. Use the correct cleaning agents for the task.
- Check that all parts of the oven are lubricated sufficiently.
- Remove flux residue and solder balls (if present) from the chamber.

To Conclude…
Ensuring that you stick to the main practices for solder cleaning, whether that be your PCB or soldering tips, achieves the best results.
Depending on your application, you may need to consider investment in further cleaning equipment. Otherwise, sticking to a cleaning schedule can do the trick
Remember that every time you fail to properly clean your PCB or cartridges you are actually harming your output.
For more soldering tips be sure to check out our other articles here.
Recent Posts