Ever Wondered How To Clean Oxidised Solder Tips?
Removing oxidation from soldering tips is the bug bare of solderers everywhere - hobbyist or professional alike.
You could have the right equipment, cleaned your PCB and the best flux to hand, but if you notice oxidation on your soldering cartridge, soldering performance will be poor.
Depending on the degree of oxidation that has taken place on your soldering cartridge, will dictate the way you need to act.
In this guide, we are going to showcase the importance for detecting and dealing with oxidation. Also, we will along share 2 handy methods to remove oxidation for your soldering tips.
What Does Oxidation Mean & Why Does It Need Removing?
Oxidation is where the iron plating of the soldering cartridge degrades and becomes iron oxide. This impacts the solder wetting in your process.
The process of oxidation is accelerated by the heat of the soldering process.
This will result in a thermal barrier being created, hampering the heat transfer from tip to solder. Consequently, you will often find that solder will refuse to flow properly, often balling up, whilst using an oxidised tip.
Often people believe they have a fault with their soldering equipment not heating up properly, when in actual fact, oxidation is the problem.

Removing Mild Oxidation
If only mild oxidation has occurred, there are a couple of steps that you can follow to clean your tip.
The process should be followed as stated below:
Step 1 – Your soldering iron needs to have the temperature set to between 250-300°C.
Step 2 – You then need to apply a flux cored solder wire onto the oxidised tip. The temperature range you have set your iron to will allow the flux in the solder to activate (without burning). This will begin a chemical reaction that starts to remove the oxidation.
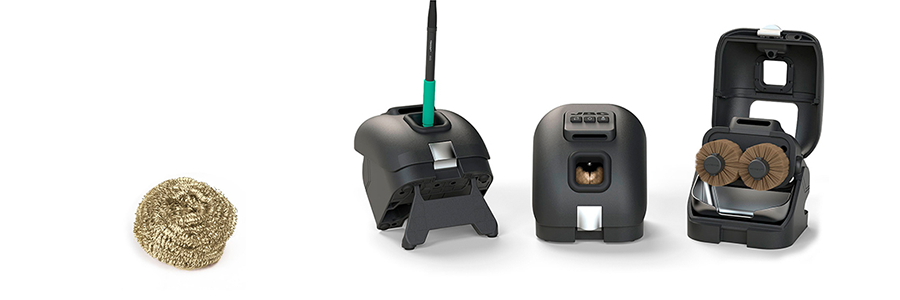
Step 3 – The cartridge should then be dry cleaned, using either brass wool or a form of automatic cleaning system such as the CLMU from JBC. The brass wool or brushes in the cleaning system, will then gradually remove the iron oxide from the tip.
Step 4 – You should repeat step 2 and 3 until the oxidation has been completely removed. Test the cartridge to ensure that the tip provides optimal wetting for your PCB. It must be noted that for your tip to be mildly oxidised, this process would not need to be repeated more than 3 or 4 times. If upon the 4th attempt the oxidation remains, you may need to perform the procedure we will outline below for sever oxidation.
Removing Severe Oxidation
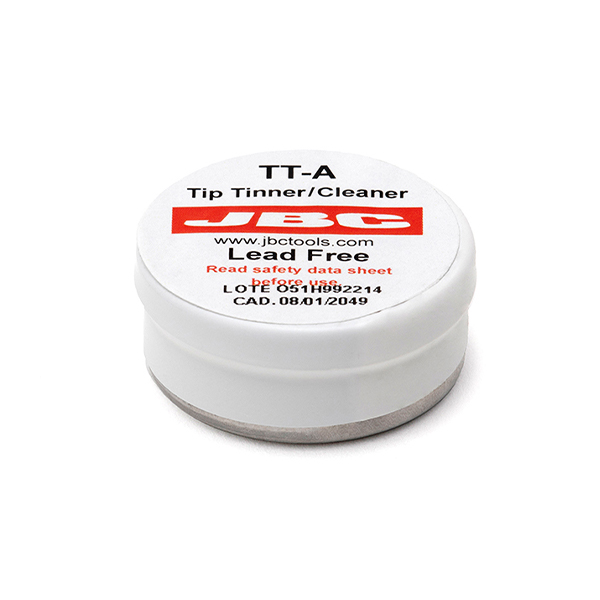
Severe oxidation will require a more rigorous approach to fix. For this, you will require a tip tinner to provide a far more powerful clean.
Tip tinners are small blocks of solder powder and flux, that are used specifically for badly oxidised solder cartridges.
For this process you will need to carry out the following process:
Step 1 – Like with the first step in process of removing mild oxidation, your soldering equipment needs to have the temperature set to between 250-300°C.
Step 2 – Plunge your soldering tip into the tinner. Make sure that all of the oxidised surface has made contact with the tip tinner.
Step 3 – The re-tinning product should melt onto the surface of the soldering cartridge. Keep your tip pressed into the tip tinner for several seconds before removing and cleaning the cartridge. Make sure that you use dry cleaning methods for this, so either brass wool or some variation of automatic tip cleaner.
Step 4 – Both steps 2 and 3 should be repeated until the oxidised surface on the tip has been completely removed. Once this is the case, and the tip shows good wetting capabilities on the working area, the process has been successful.
Bear in mind that using this process, flux residue will build up on the chrome surface of your soldering cartridge. There is no need to clean this from the soldering tip.
Although it is unsightly, it does not affect either the integrity of the soldering cartridge or the soldering performance it delivers.
How Not To Remove Oxidation From Soldering Tips?
To remove oxidation from soldering tips, there are specific techniques you must use, to ensure that you do not damage your equipment. These are outlined above.
Attempting to clean in any other way is ill advised. Often you will hear people suggest the use of brushes or other methods to file the corrosion.
However, cleaning the oxidised surface in this way will erode the iron plating on the tip surface. This reduces the lifespan and hinders the performance of your soldering cartridge.
For more on this topic check out our article on the dos and don’ts of soldering.
What If These Methods Don’t Work?
If you have exhausted the cleaning method for severely oxidised tips, but to no avail, it is likely that your cartridge is beyond repair.
If the oxidation has caused any kind of crack or hole, your best bet is to replace the tip all together. You should follow the advised best practises to ensure that you prevent an oxidised tip moving forwards also.
These best practices range from proper cleaning, tinning you tips, heat management and much more.
In Summary
We hope this article has reinforce the correct ways to remove oxidation from your soldering tips.
Remember that using an oxidised tip will directly affect the output of your process. So, remain vigilant and ensure that you deal with it early.
Avoiding bad habits can help to prevent oxidation in the first place. So, remember to always tin your tips with a small layer of solder, covering the entire working area of your soldering cartridge. Do this after cleaning and before you return your tool to the stand.
Doing so will always ensure you get the best results!
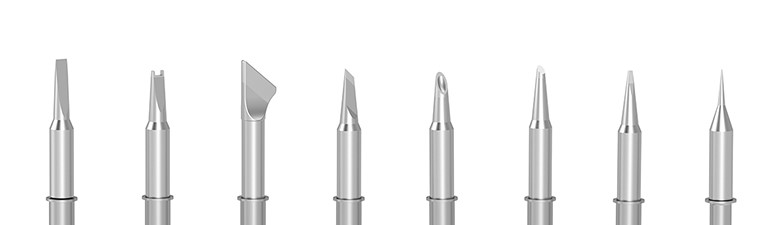
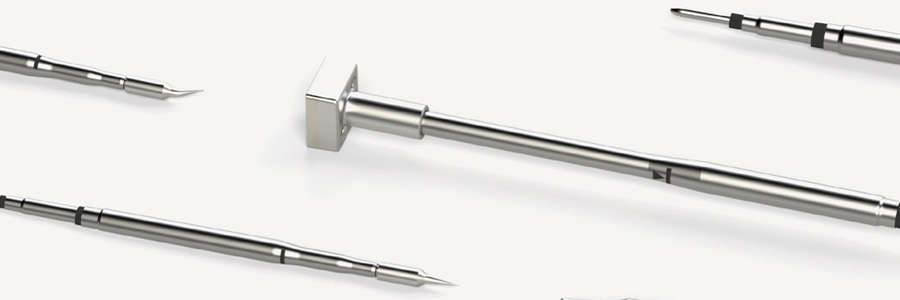
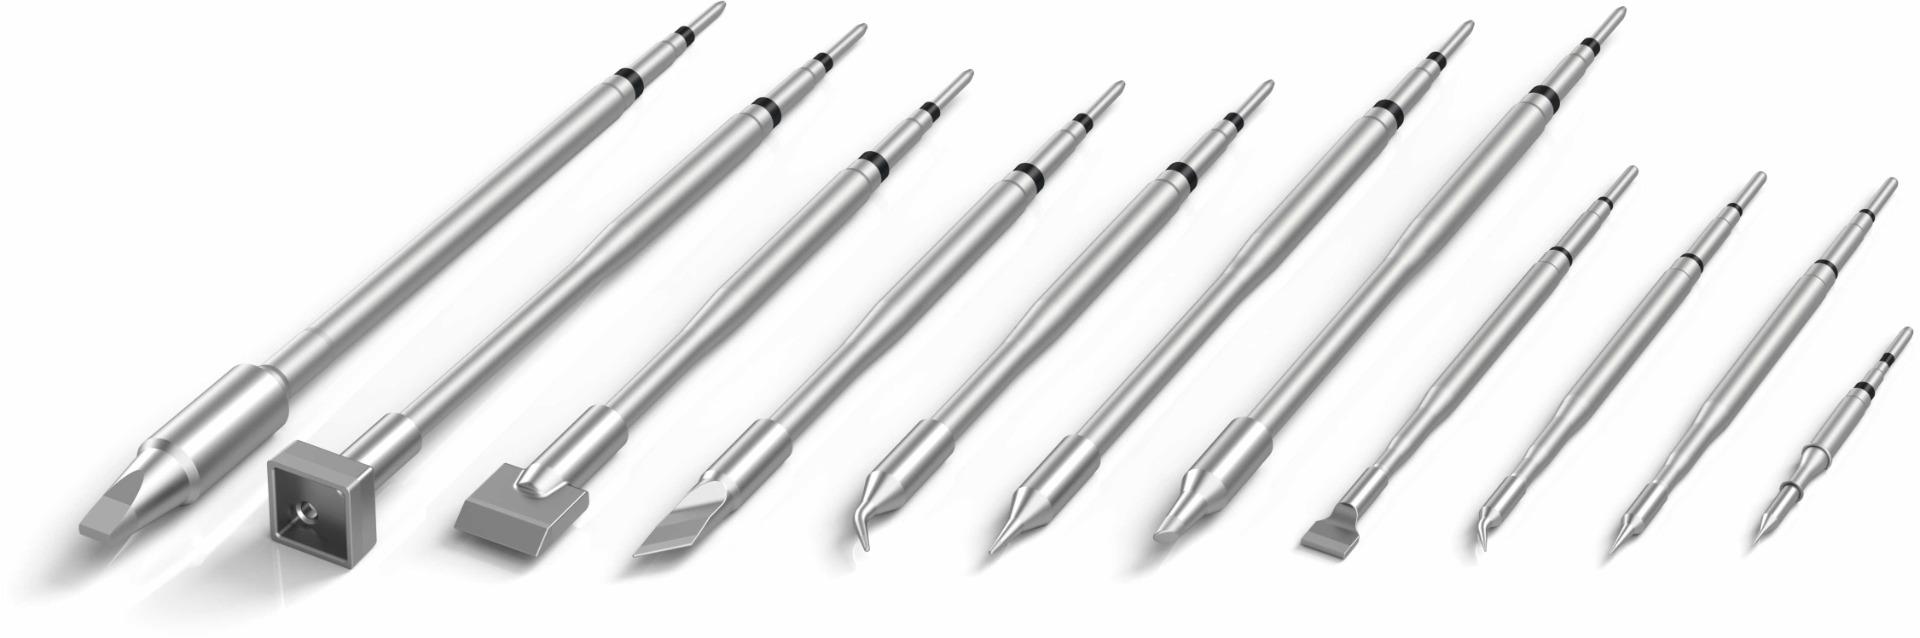
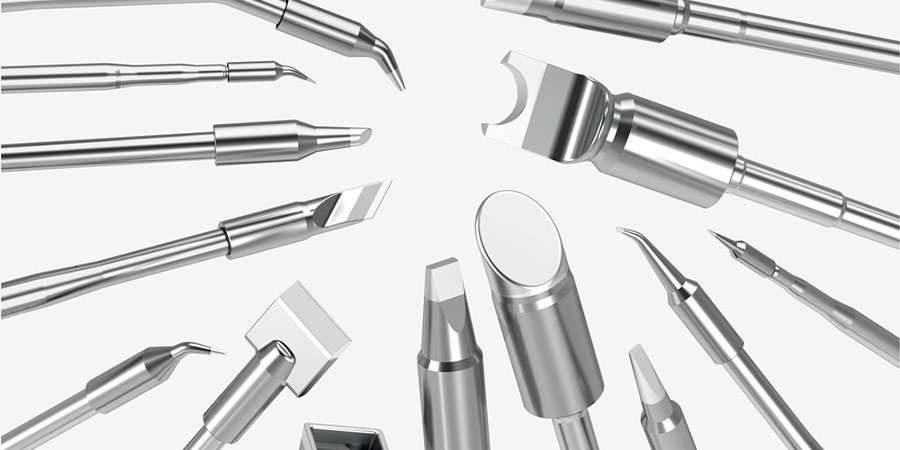
Need A New JBC Soldering Tip?
Find the entire JBC cartridge range on our website. Contact our team for pricing on bulk tip purchases.
Recent Posts