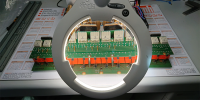
Reworking is a tricky process. Even the most seasoned of technicians can make costly mistakes when desoldering.
In this article we explore this further, delving into the most common mistakes, along with tips on how to prevent them.
It doesn’t matter whether you are a hobbyist or a technician with years of experience under their belt. This guide will help you improve your desoldering skillset and avoid the most common pitfalls.
Overheating The Component
Just like with soldering applications, the rework or desoldering process generates high temperatures, whether that be from a soldering iron or hot air stations.
If too much heat is applied, this can disrupt or damage a number of different elements. Whether that be the component itself, the PCB or even melting the solder mask, it is essential that the temperature applied is carefully controlled.
This can be as simple as ensuring the soldering equipment you use has the correct wattage or careful monitoring of the temperature control on the hot air unit.
There are a few products that can aid in preventing this overheating during the soldering process. They are the following:
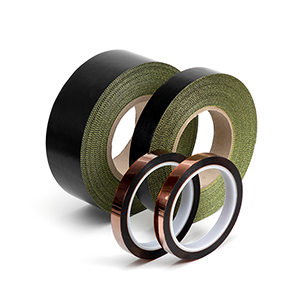
Kapton Tape – This is a high-temperature resistant adhesive tape that can be used to help protect surrounding components during the desoldering process. For example, if you are using hot air to desolder, you would apply the Kapton tape to cover nearby components, shielding them from the heat.
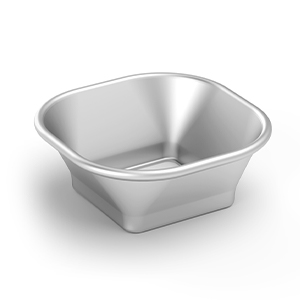
Heat Shields – Sometimes referred to as protectors, they concentrate the heat that is applied from the hot air station. This subsequently protects surrounding components from the high temperatures that are used in the desoldering process.

Hot Air Nozzles – The end of each hot air station handle can be adapted with differently shaped nozzles, allowing the operator to target specific components or areas on the PCB with higher accuracy.
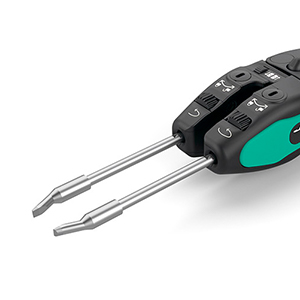
Thermal Tweezers – These are specialised rework tools that allow the user to desolder and remove the component at the same time. They work by applying heat to the leads of the component, while keeping the body cool.
Not Using Enough Flux
Flux serves the purpose of helping to prevent and remove oxidation on a solder joint. Without it, oxidation build-up can interfere with the flow of solder, making it far more difficult to remove components from the PCB.
When the solder joint is heated up, the flux will activate and help to clean the surface of the joint. This allows the solder to flow, and thus making it easier to remove the component from the PCB.
Not using enough flux will lead to poorly formed joints, making the desoldering tasks in the future far more difficult than they need to be.
Therefore, flux plays a critical role in the desoldering process. It is crucial that you use the right type of flux for your application.
Rushing The Work
Desoldering is a task that requires patience and finesse. There is no time for corner-cutting, and the correct procedures should be strictly followed.
Rushing to get the task complete can lead to the operator applying force when removing the component too early. Another consequence of rushing can be an insufficient amount of heat being applied to the joint. This doesn’t allow the solder enough time to melt, meaning the desoldering pump or braid cannot sufficiently extract it from the board.
Rushing may seem like it saves you time, but cutting corners ultimately produces poorer results, meaning more time and money is spent on either repairing or replacing components.
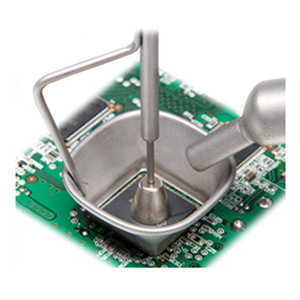
Using Low-Quality Desoldering Pump Or Braid
Using sub-par equipment or braid can cause a number of issues that result in poor desoldering work. They are as follows:
Unwanted Solder Remains – Low-quality desoldering equipment or braid could fail to sufficiently remove all of the solder from either the joint or the component. This can make it difficult to remove the components for the board, or to even carry out the repairs.
Damage The PCB/Components – ineffective equipment or braid can lead the operator to apply excessive force when attempting to remove the board from the PCB. This should never be the case, and if you are having to use force to remove a component, you might want to take a look at whether your equipment or braid is actually up to the task.
Overall, high-quality equipment or soldering braid is essential to adhere to best practices for desoldering. Whilst it could be tempting to save a few pennies in the short term when purchasing this equipment, it can lead to higher costs later down the line due to damaged components and the resulting expensive repairs.
No Cleaning
The cleaning process is crucial to all soldering applications – and desoldering is no different!
Each joint must be thoroughly cleaned to remove any residual solder or flux. Failure to sufficiently clean the joint can lead to a number of problems such as:
- Residual Flux – Flux does a fantastic job in helping to promote solder flow. However, the residue, if left behind on the PCB, can quickly lead to corrosion which affects the performance of the circuit.
- Residual Solder – Any solder left on the PCB can make it much more difficult to either reuse a component or resolder on that area of the board. Residual solder can also lead to open connections or shorts on the PCB.
- Aesthetics – This is especially a problem if the PCB is visible to the end customer. Clean joints look far more aesthetically pleasing than ones with flux residue!
- Inspection – Where the joint is clean, it is far easier to inspect components on your PCB. This makes it simpler to spot any defects or issues on the PCB post rework.
The cleaning process presents a simpler way to future-proof any of the rework projects you undertake.
In Summary
On paper, desoldering may seem like a straightforward process. However, as seen above, mistakes can happen. Best practices must be adhered to for optimal results.
By understanding the mistakes that occur when desoldering, you can improve your technique over time, allowing you to become more efficient and effective with your desoldering.
Remember to work carefully and methodically, using the correct equipment. With these tips in mind, you can tackle any desoldering project with a newfound confidence.
For any help selecting the best desoldering equipment for your application, feel free to get in touch with our team.
Recent Posts