Are there any simple tips for the desoldering process?
Our experts have put together some of the most helpful tips for desoldering.
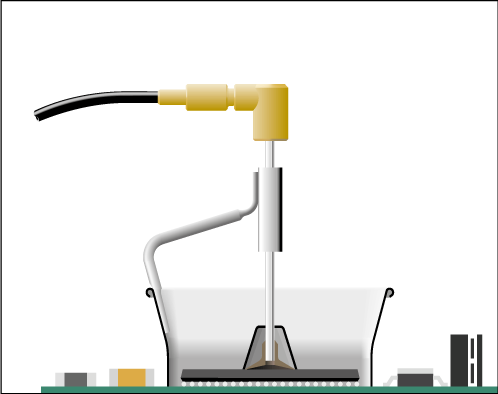
Step 1, Placing - Use a tip that has a larger diameter than the pad to ensure that it achieves maximum aspiration and thermal efficiency. Ensure that you choose the extractor, protector or tripod that best fits the component you intend to desolder.
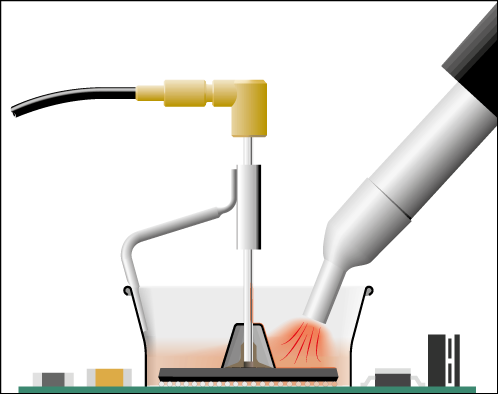
Step 2, Rotating - The Next step is where you apply the heat to the solder on the component. When doing this, the previous steps will ensure that you protect the surrounding elements from the heat, and only the desired component is targeted. Once the solder has liquified, gently rotate the tip so that the component can be easily lifted off the PCB.
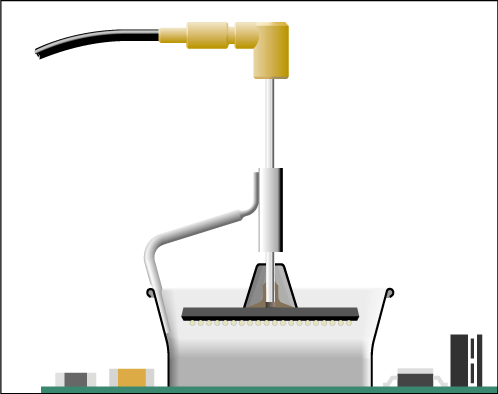
Step 3, Aspirating – Once this has been completed, it is time to get rid of the redundant solder. Press the vacuum pump button down long enough to ensure you remove the intended solder. Upon pressing the desoldering key on your unit you will experience a slight delay until the self-contained vacuum pump shuts off. If any solder remains on the terminal, resolder it with fresh solder and repeat the desoldering process.


Talk to us about your question
If you can't find your question answered here or would like more information, please give us a call, email us or use the chat box (bottom right of your screen) to get an answer quickly.
Call us: +44 0238065 0065 Email